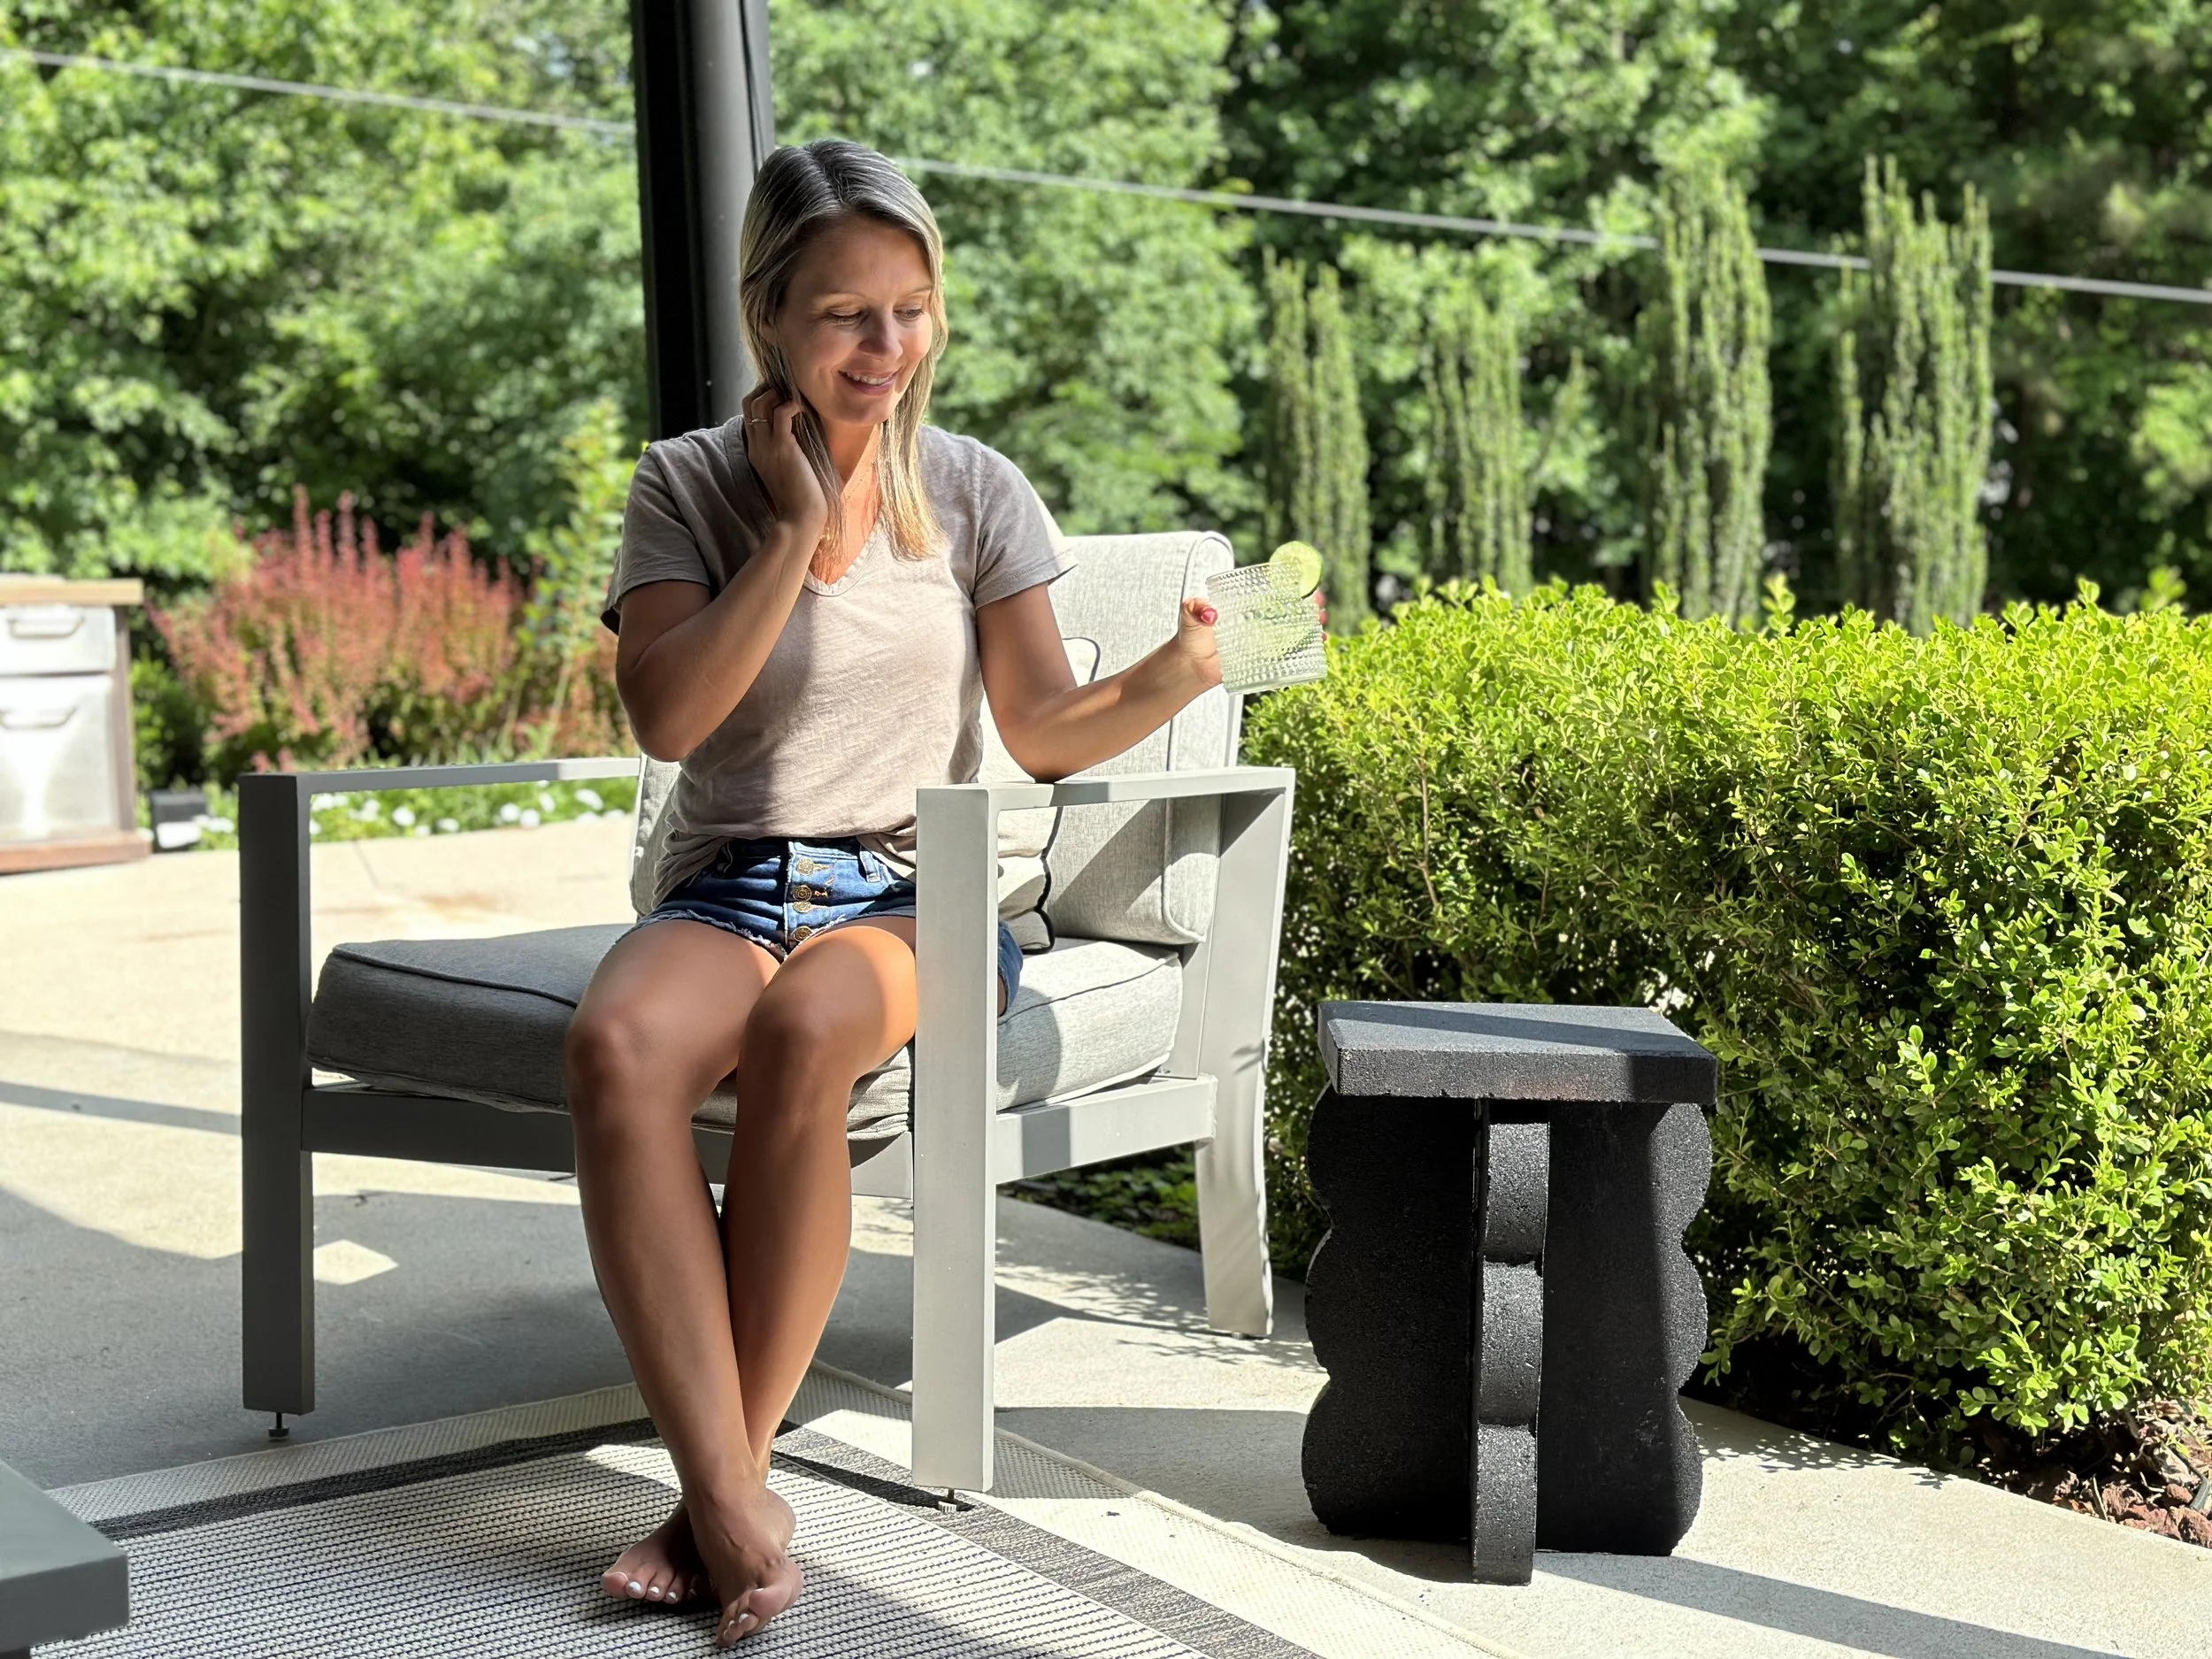
$12 Outdoor Side Table
With summer time here and hopefully long pool days, I always struggle to find little side tables for my chairs that are durable and long lasting!! When I saw this DIY for only $12, I knew I had to give it a try for myself. The best part about this DIY is it only has 3 things that you need: bricks of your choice, spray paint, and some caulk glue. So let’s go!!
Step One:
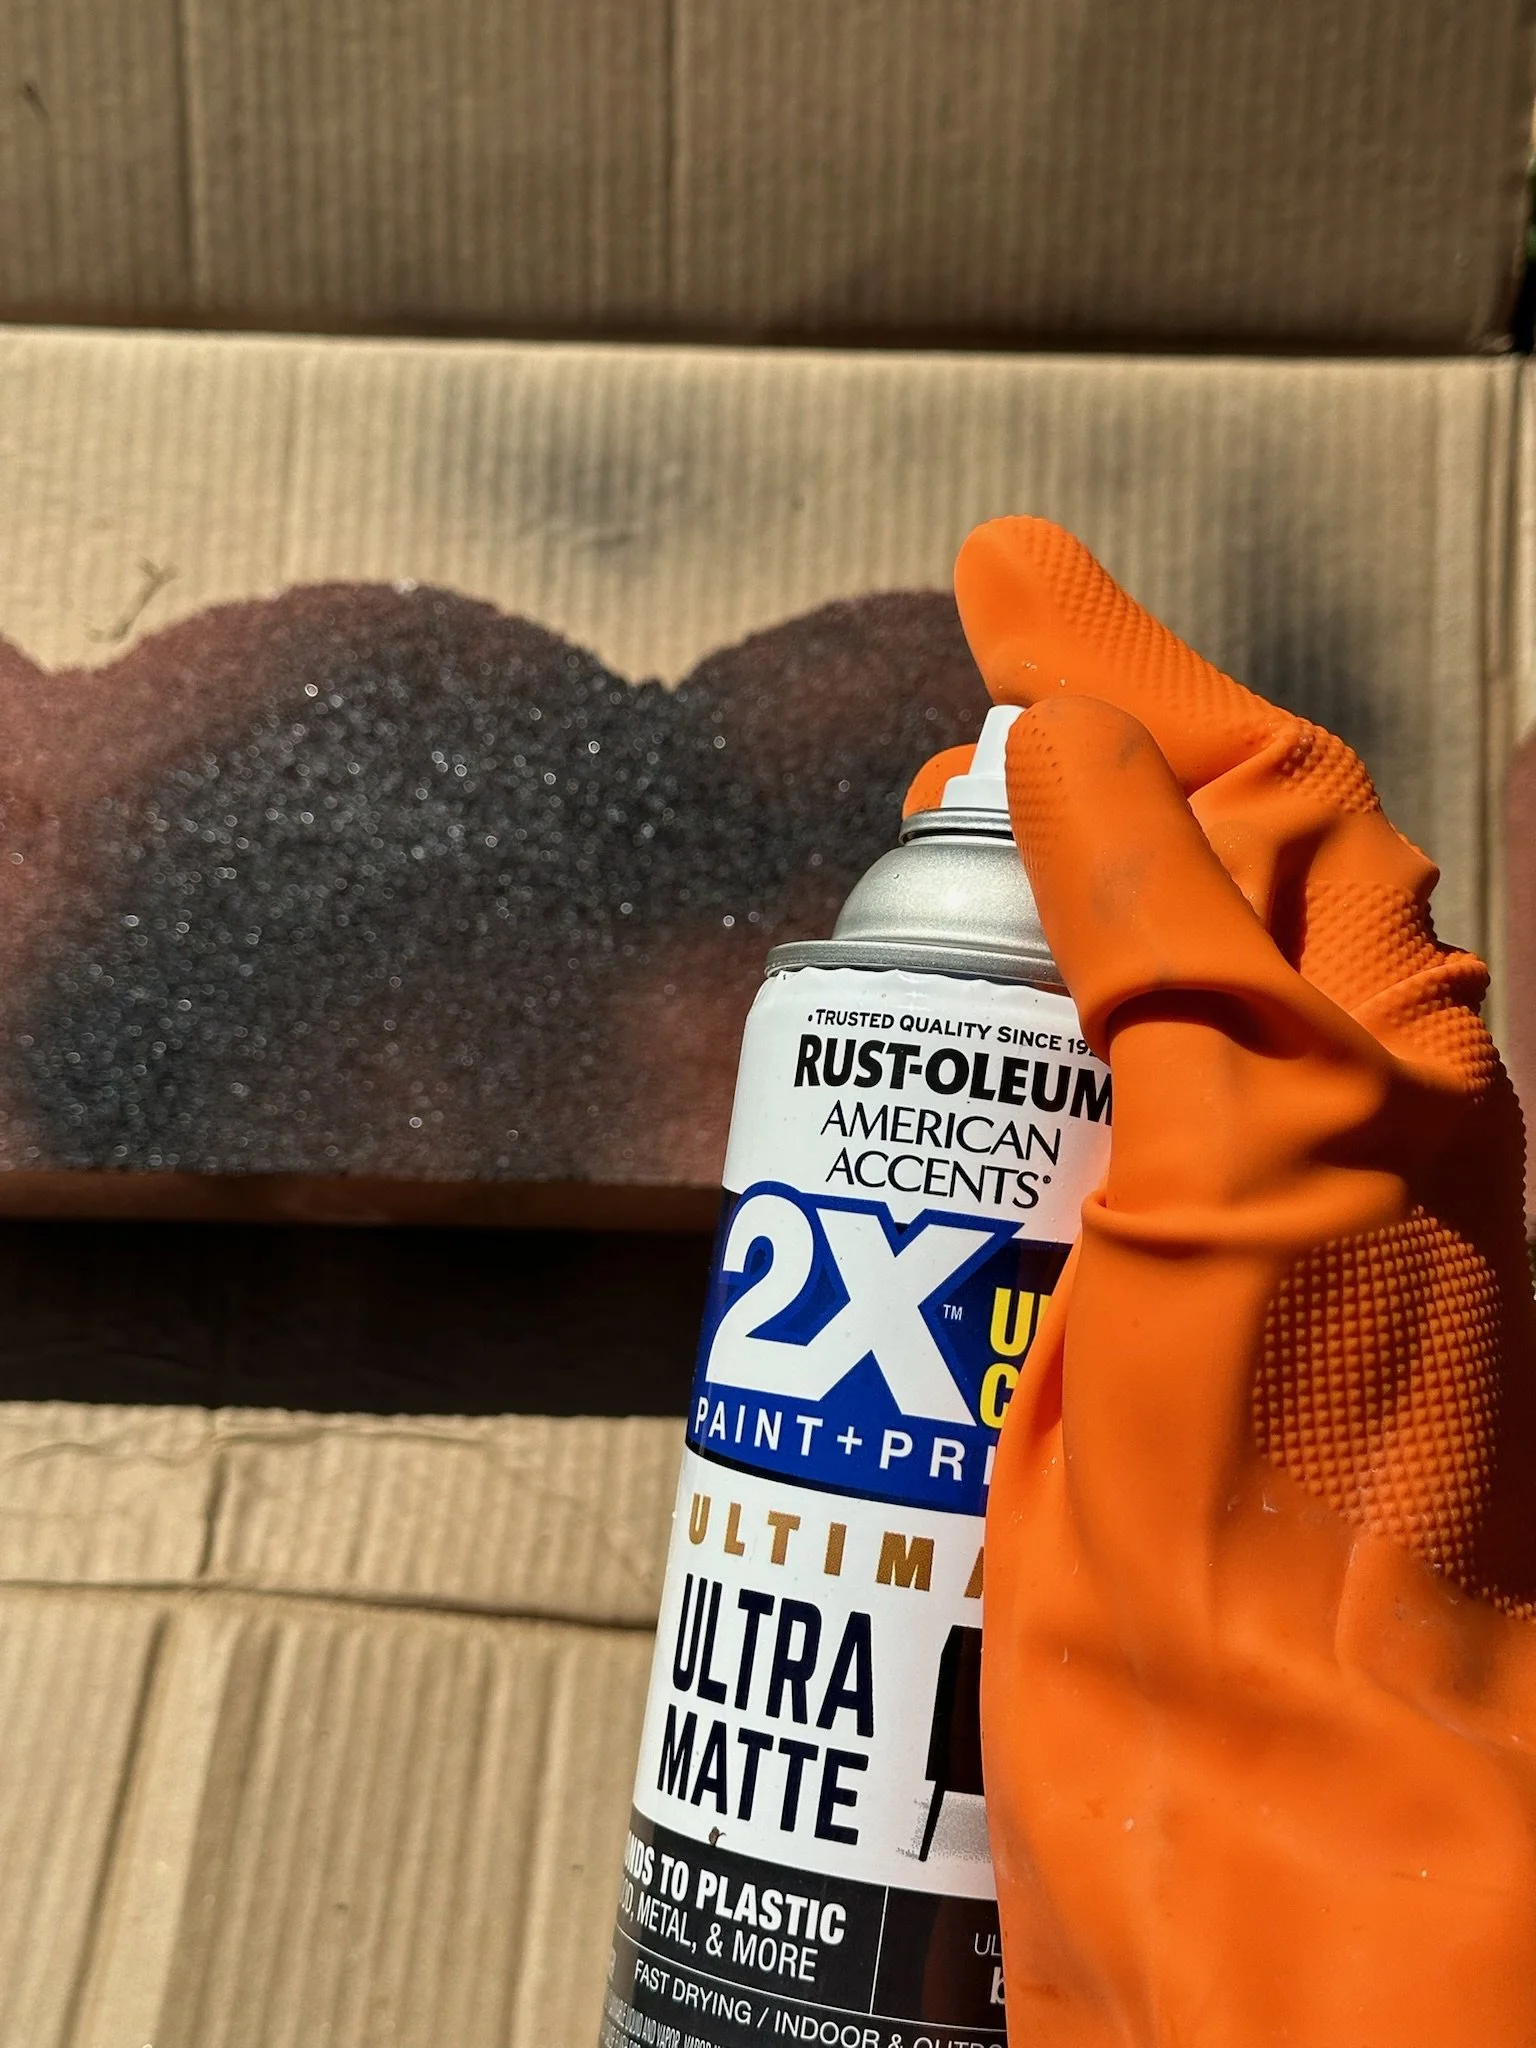
Once you’ve gathered your supplies you’ll start by spray painting the bricks your desired color.
Step Two:
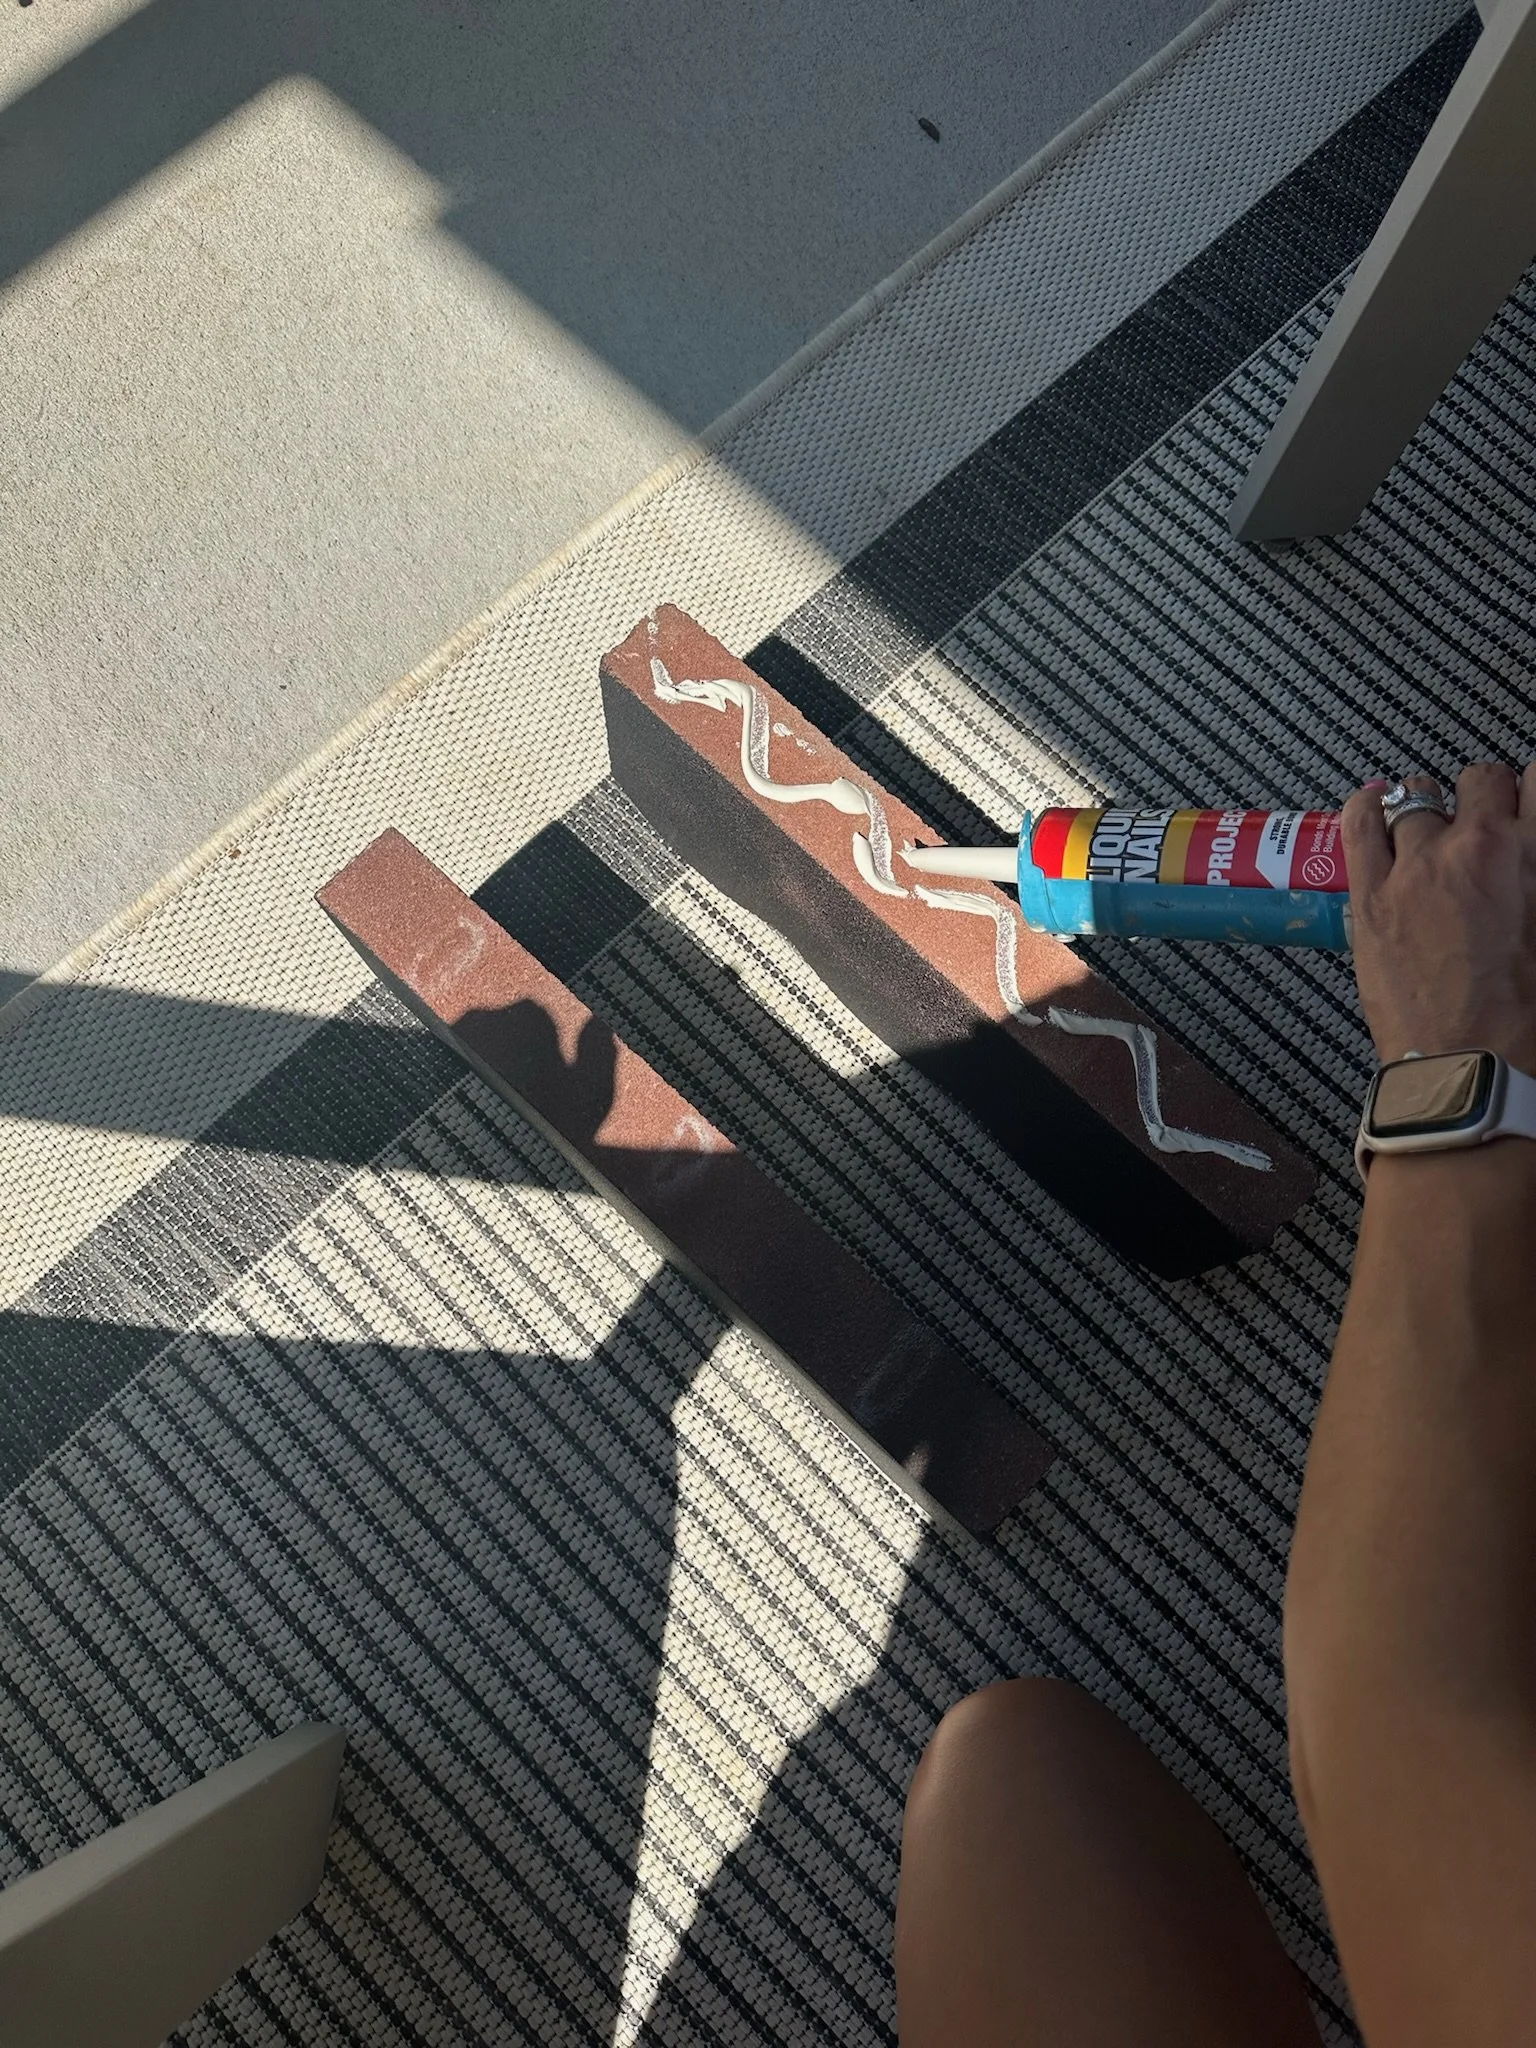
Once your spray paint dries you’ll take your caulk and start with the base glue your center 2 pieces together.
Step Three:
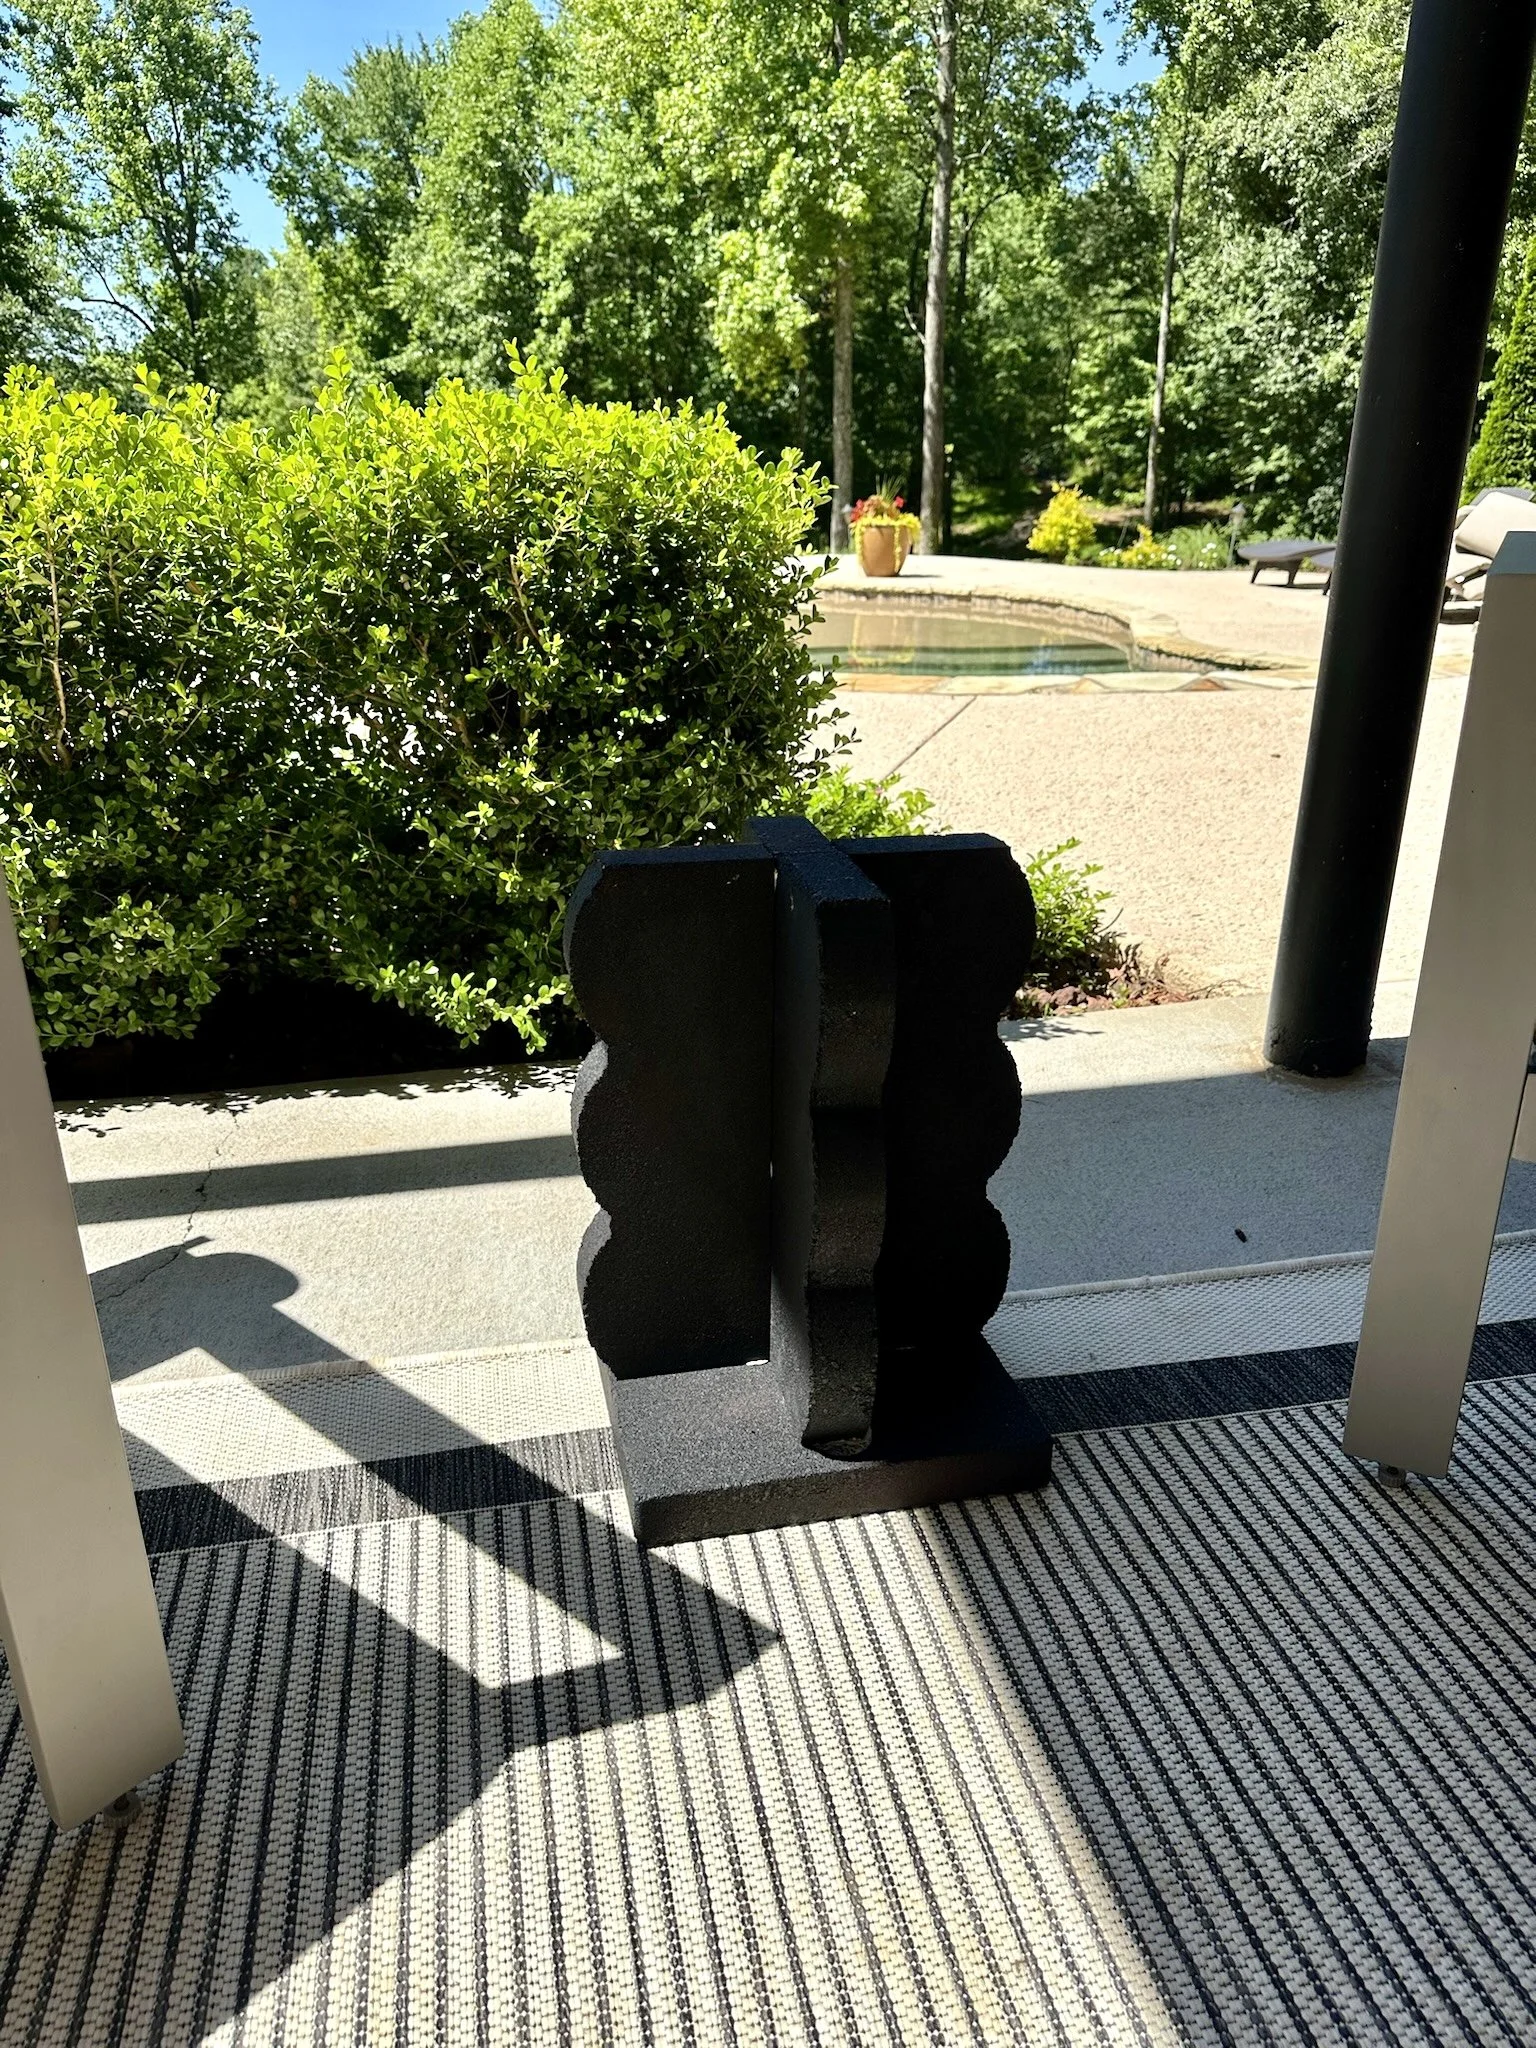
Next, you’re going to attach the previous piece to your top base and then add the remaining two legs to either side of it.
**Allow this to dry before you try to move it :)
I was honestly so surprised by how easy and fast this DIY was and it was the perfect addition to my outside space for this summer!! I love that you could get super creative and find some fun shaped bricks if you wanted to mix it up. Hope you enjoyed this DIY as much as I did!! For a more in depth video tutorial check out @liketobehome
XOXO - Amanda


