Valentine’s Day DIY Candle…Yes Please!
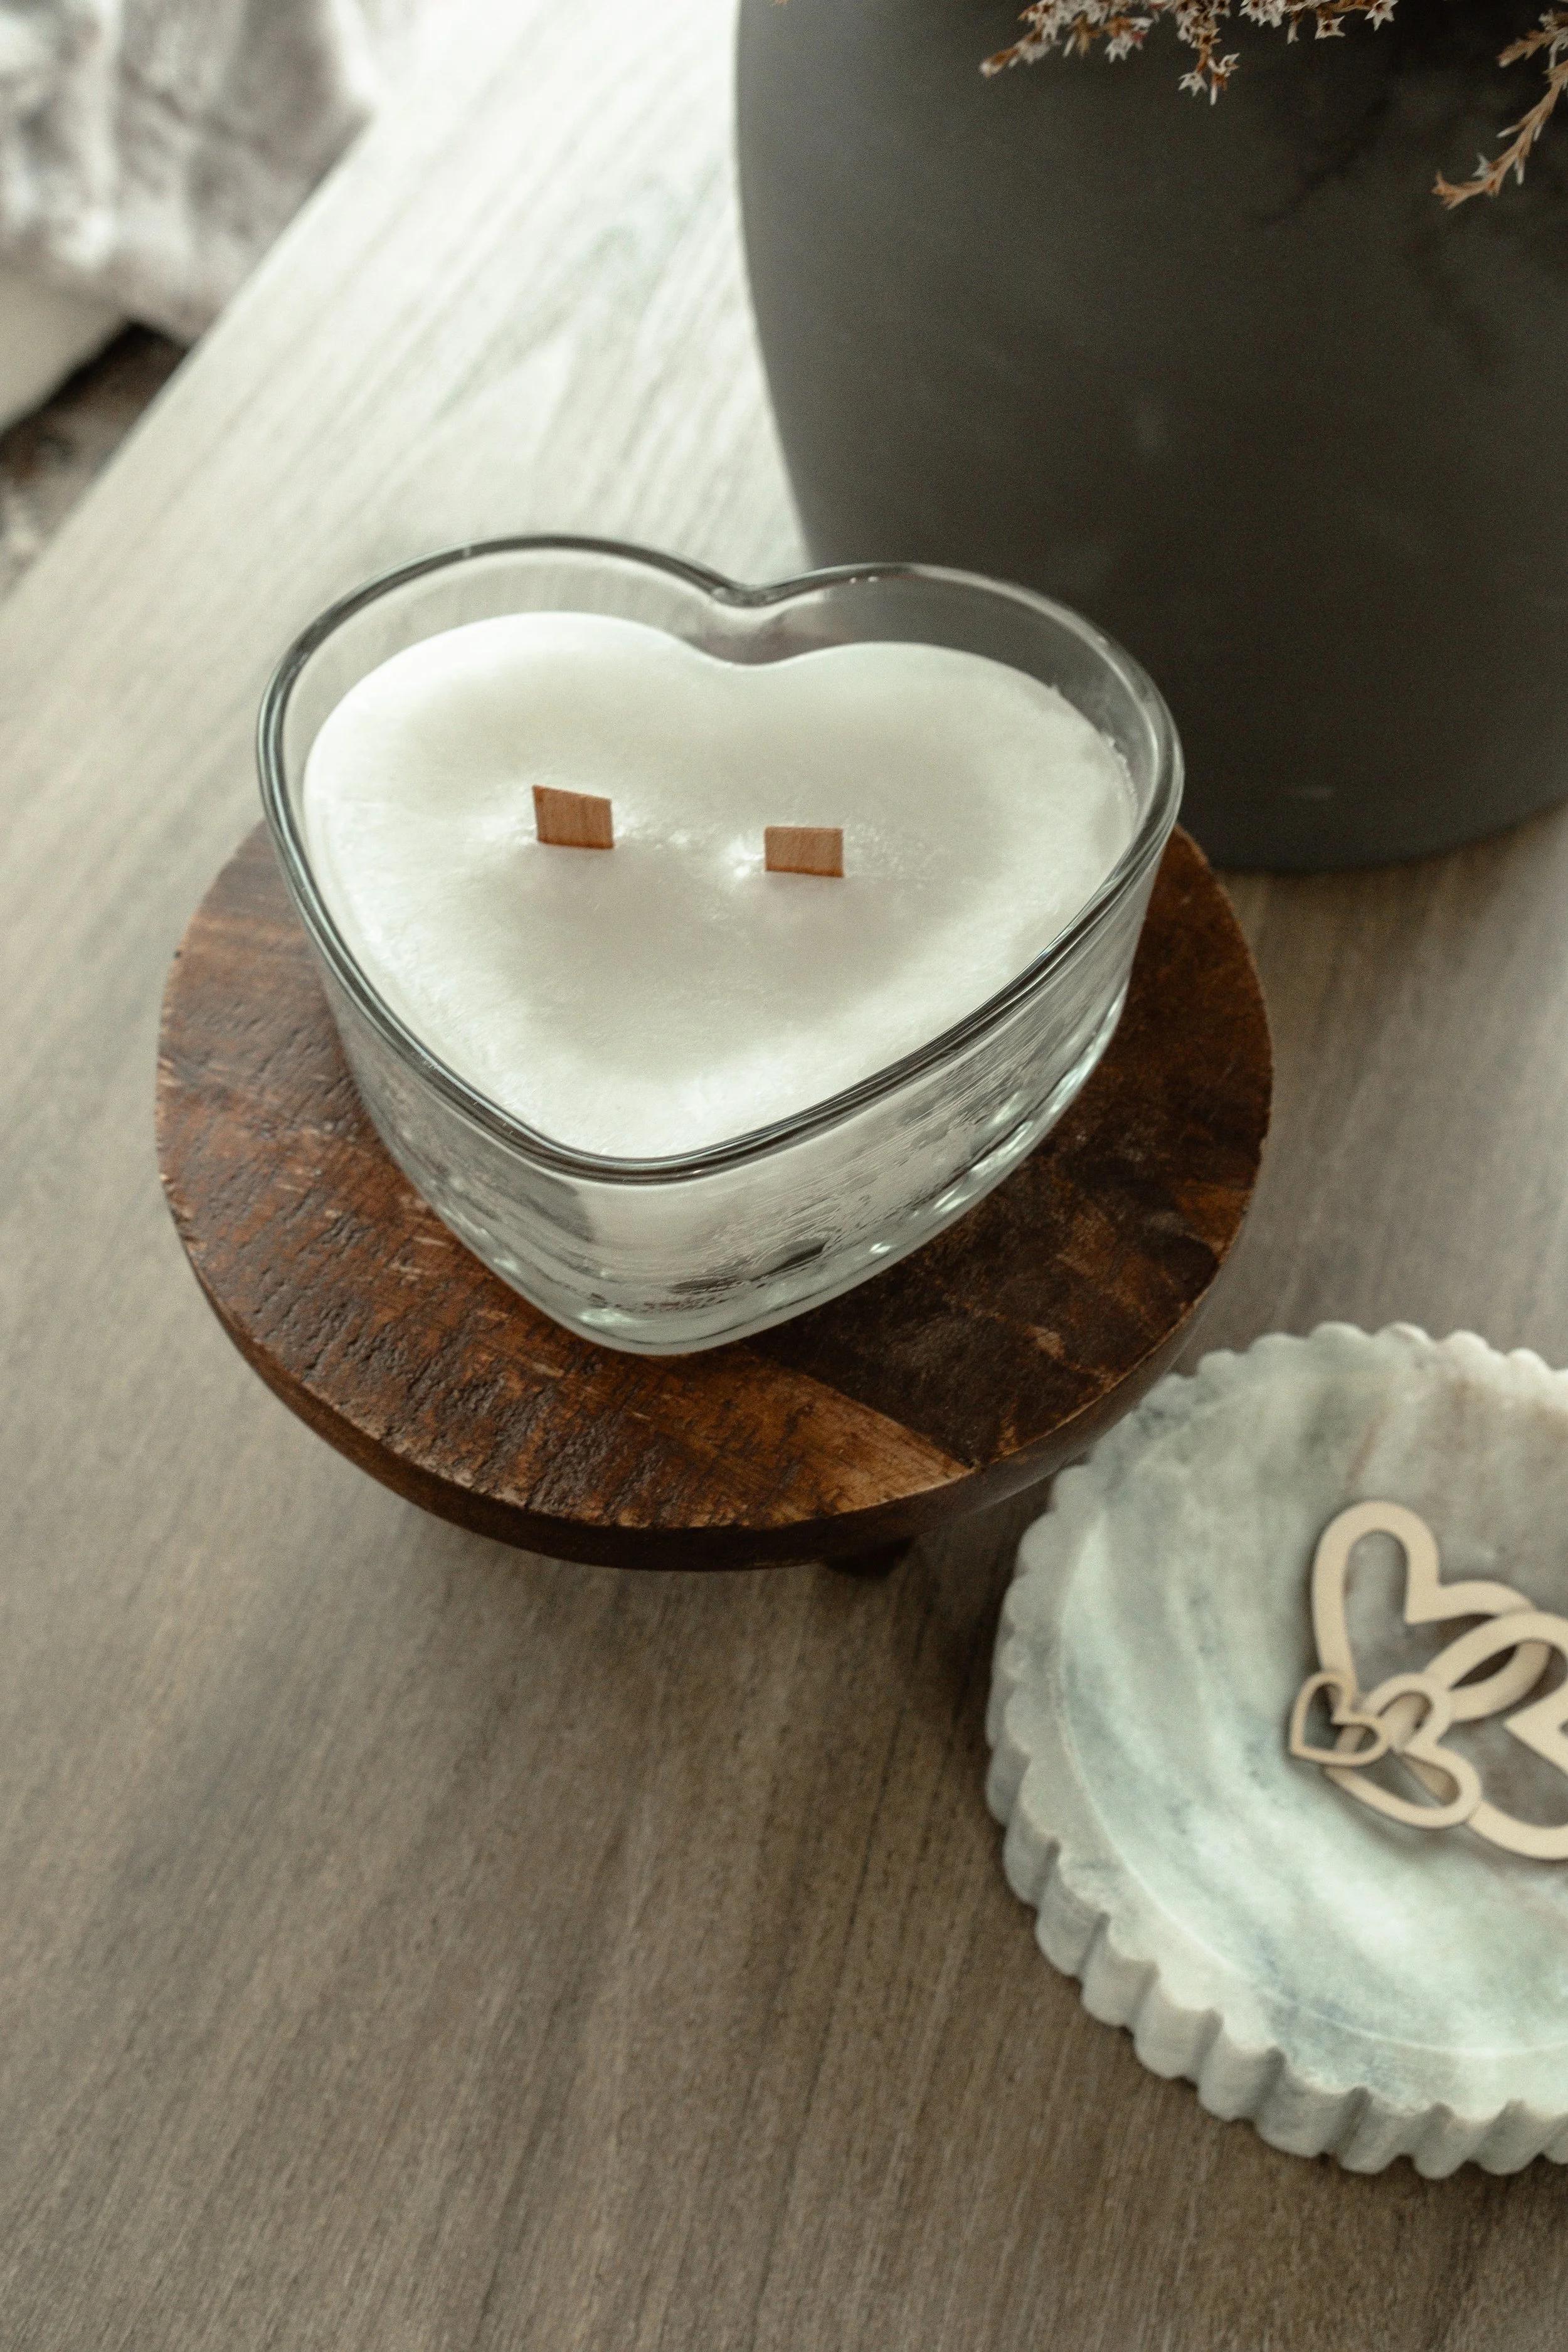
With Valentine’s Day right around the corner I thought how fun would it be to make something special to add to my Valentine’s Day decor. We all know I’m a homebody and love all things minimalist so I’m always going to be looking for a way to add a simple neutral piece. This week it’s a DIY heart-shaped candle. When I was thrifting I came across these perfect heart-shaped vases that I knew I couldn’t pass up!
Materials:
Paraffin wax
Heart-shaped vase or mold
Wood wicks
Vanilla essential oil
Stove Pot
Stirring utensil
Thermometer
**I also attached a super easy AMAZON Candle Kit :)
Instructions:
Step 1 - Prepare Your Workspace:
Clean the heart-shaped vase or mold thoroughly to remove any dust or debris.
Step 2 - Prepare the Wicks:
Cut the wood wicks to the desired length, ensuring they are a bit taller than the height of the vase.
Step 3 - Melt the Wax:
Measure the amount of paraffin wax needed based on the size of your vase. Use a kitchen scale for accuracy.
Place the wax in the double boiler and melt it. Monitor the temperature with a thermometer.
Step 4 - Add Fragrance:
Once the wax is fully melted, add in your vanilla essential oil. Adjust the amount based on your preference for fragrance strength. (I used 1/2 oz for my paraffin ratio.)
Step 5 - Pour the Wax:
Pour about 1/2” of wax in the bottom of your candle and stick your wicks in your desired place. Make sure not to put them to close to the rim of your glass.
After the wax you just poured in begins to harden carefully pour the melted wax into the heart-shaped vase, ensuring that the wood wicks stay centered. Leave some space at the top.
Step 6 - Cooling and Setting:
Allow the candle to cool and set. This may take a few hours. To speed up the process, you can place it in the refrigerator.
Remember to prioritize safety when working with hot wax, and enjoy a truly personalized and heartfelt DIY this Valentine's Day. Happy crafting!
XOXO - Amanda
**Wooden Wicks**


